Exploring the panel
Your panel is a full installation of Pterodactyl, the open-source game server management software. Here are its screens, in the order you will come across them. The Pterodactyl interface is in English: button names are given as they appear.
Logging in
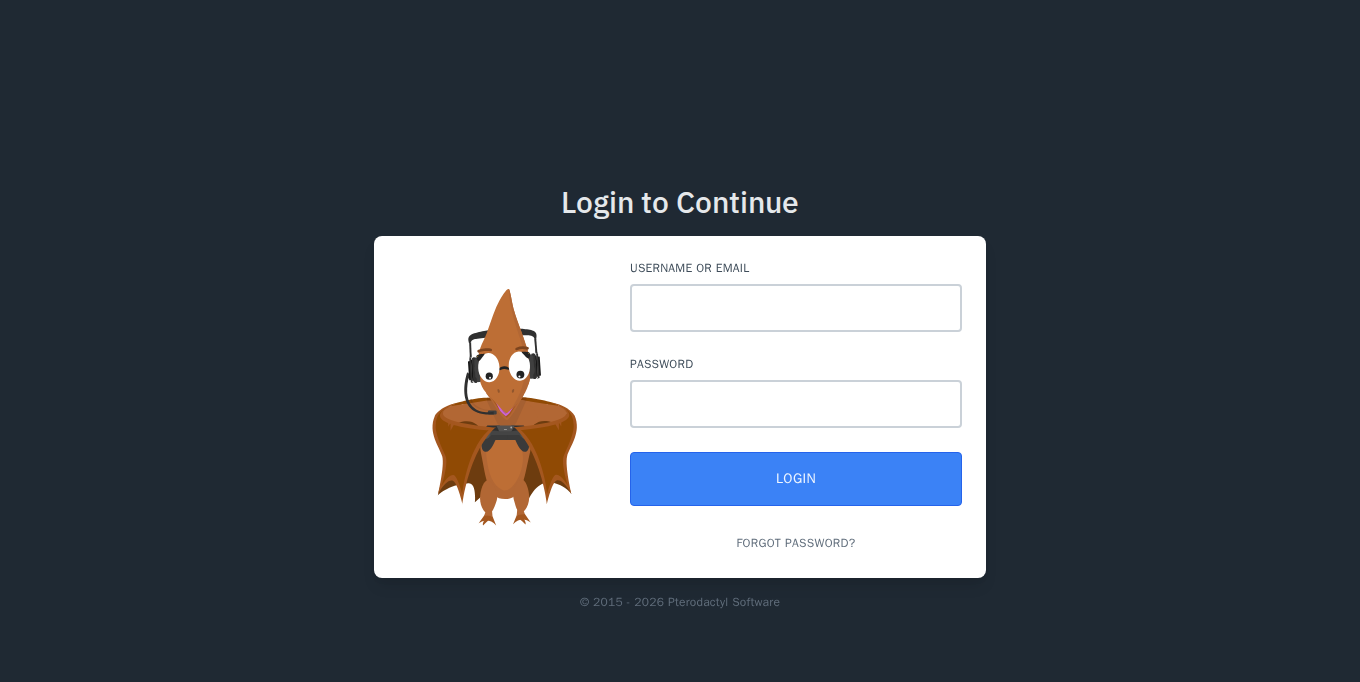
Open https://your-name.nebus.app and log in with the username and initial password shown in the client area (see Logging in to your panel).
The server list
This is the home page. Each row is a server, with the address to give your players and what it uses (CPU, memory, disk) compared to its limits. The coloured bar on the right shows its state: green running, yellow starting, red stopped.
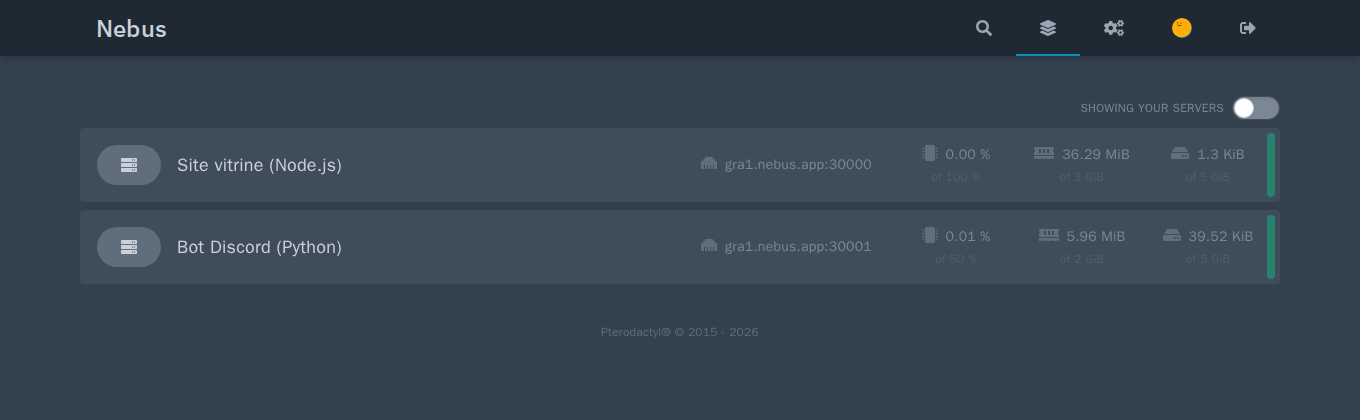
The icons at the top right: search, server list, administration (cogs, for administrators), your account, log out.
Managing a server
Click a server to open its interface. The tabs at the top group everything you need day to day:
| Tab | What for |
|---|---|
| Console | Start, restart, stop, follow the logs live and type commands. |
| Files | Browse, upload, edit and compress the server's files. |
| Databases | Create MySQL databases for the server. |
| Schedules | Schedule tasks: restart, command, backup. |
| Users | Give other people access to the server. |
| Backups | Create, download and restore backups. |
| Network | See and manage the server's ports. |
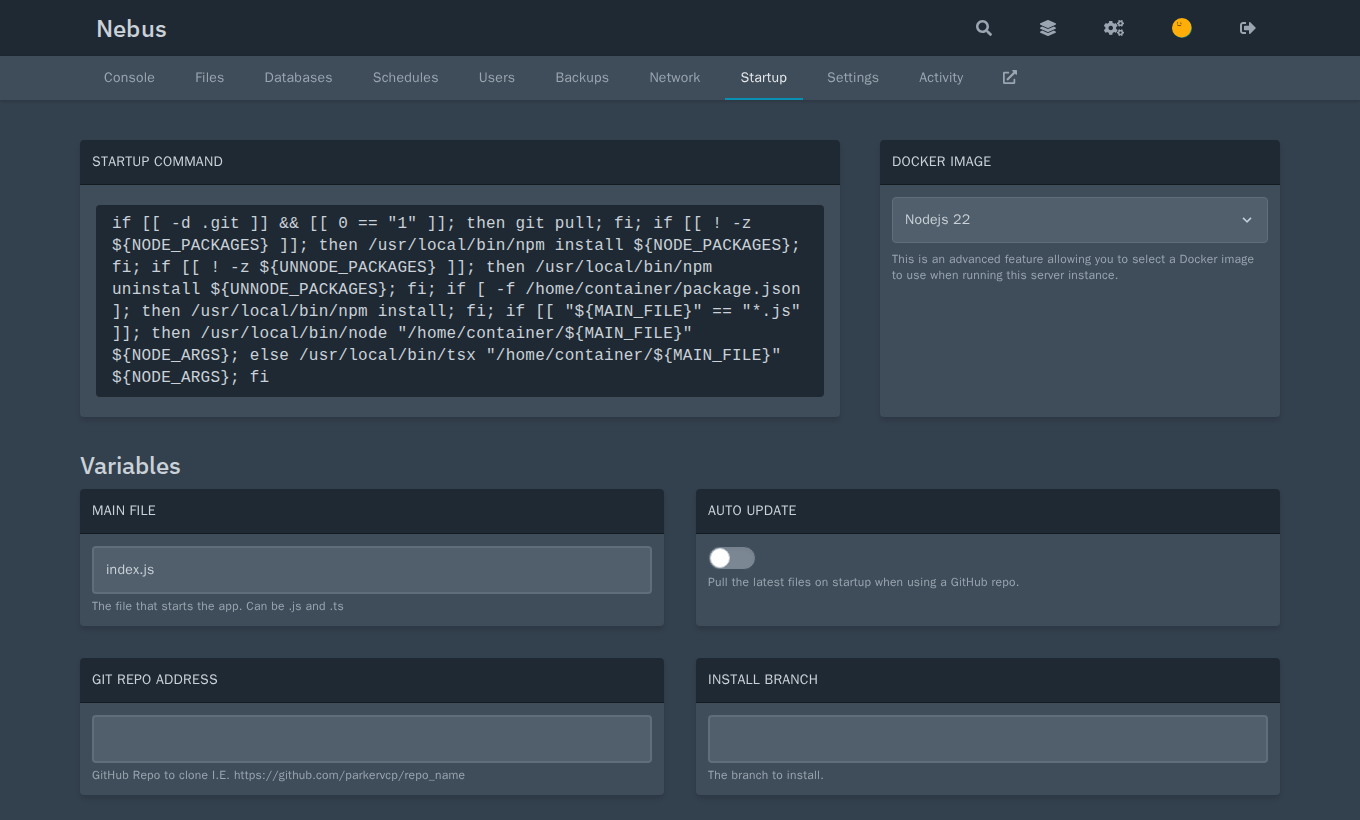
| Startup | Startup command, version (Docker image) and egg settings. |
| Settings | SFTP access, server name, reinstall. |
| Activity | History of who did what on the server. |
Console
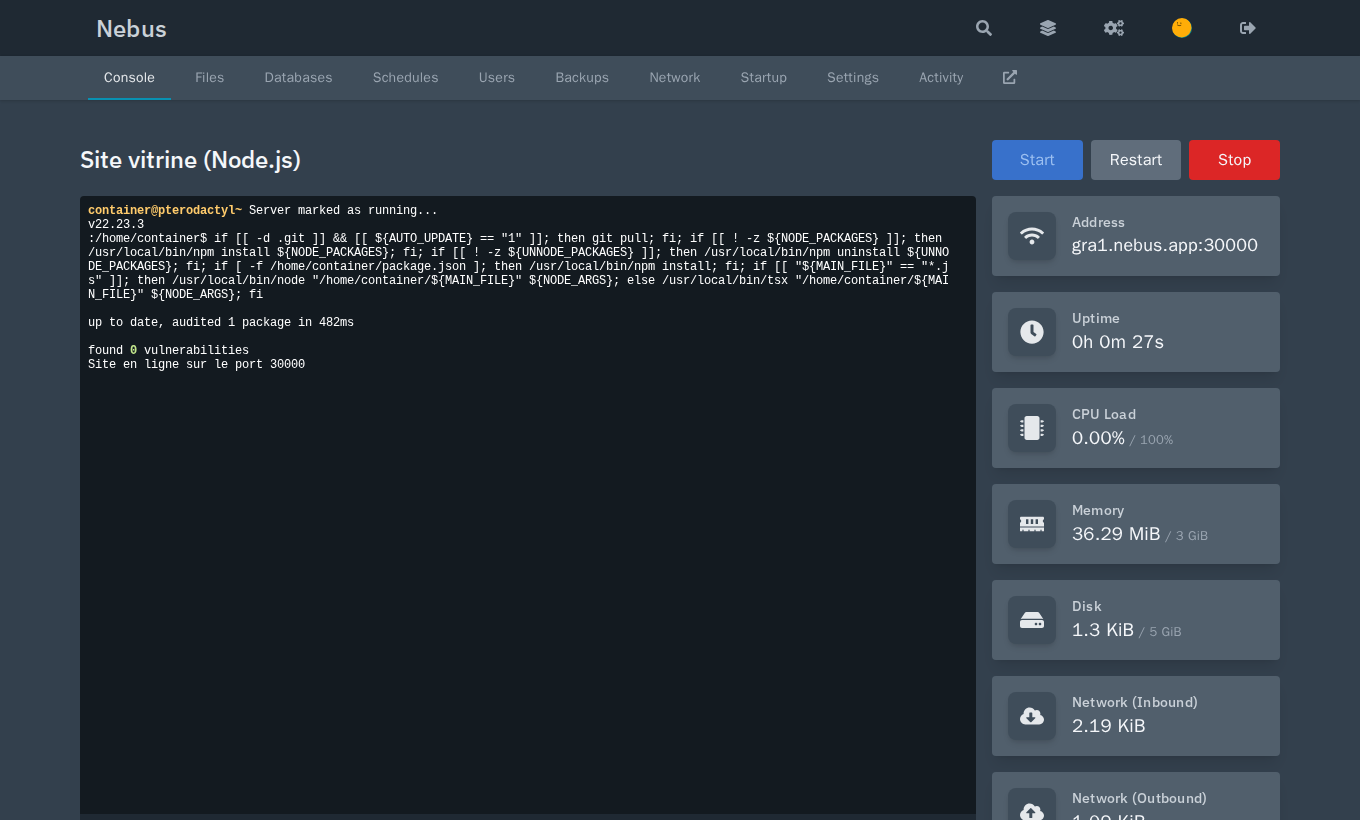
The Start, Restart and Stop buttons control the server. The field at the bottom of the console sends a command to the program (for example say Hello on Minecraft).
Files
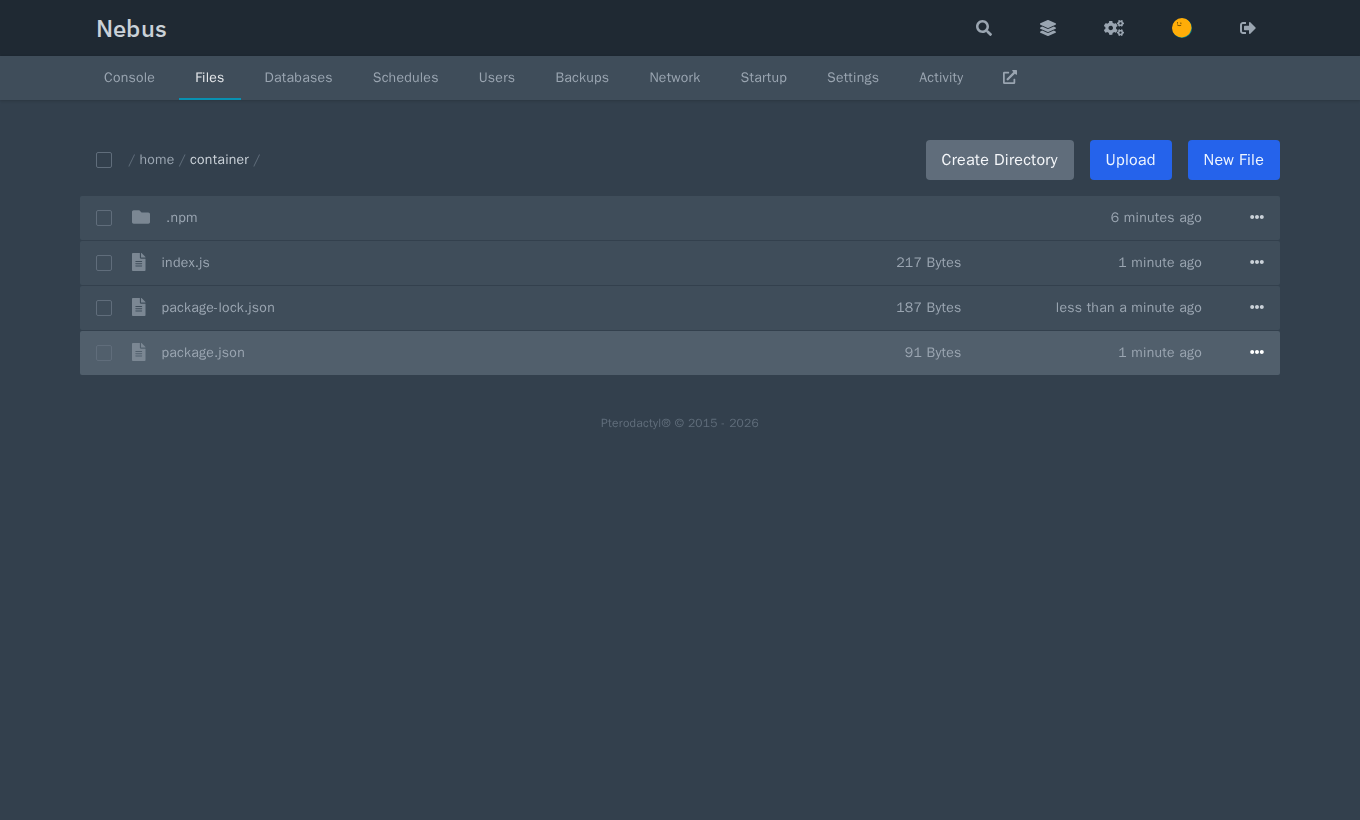
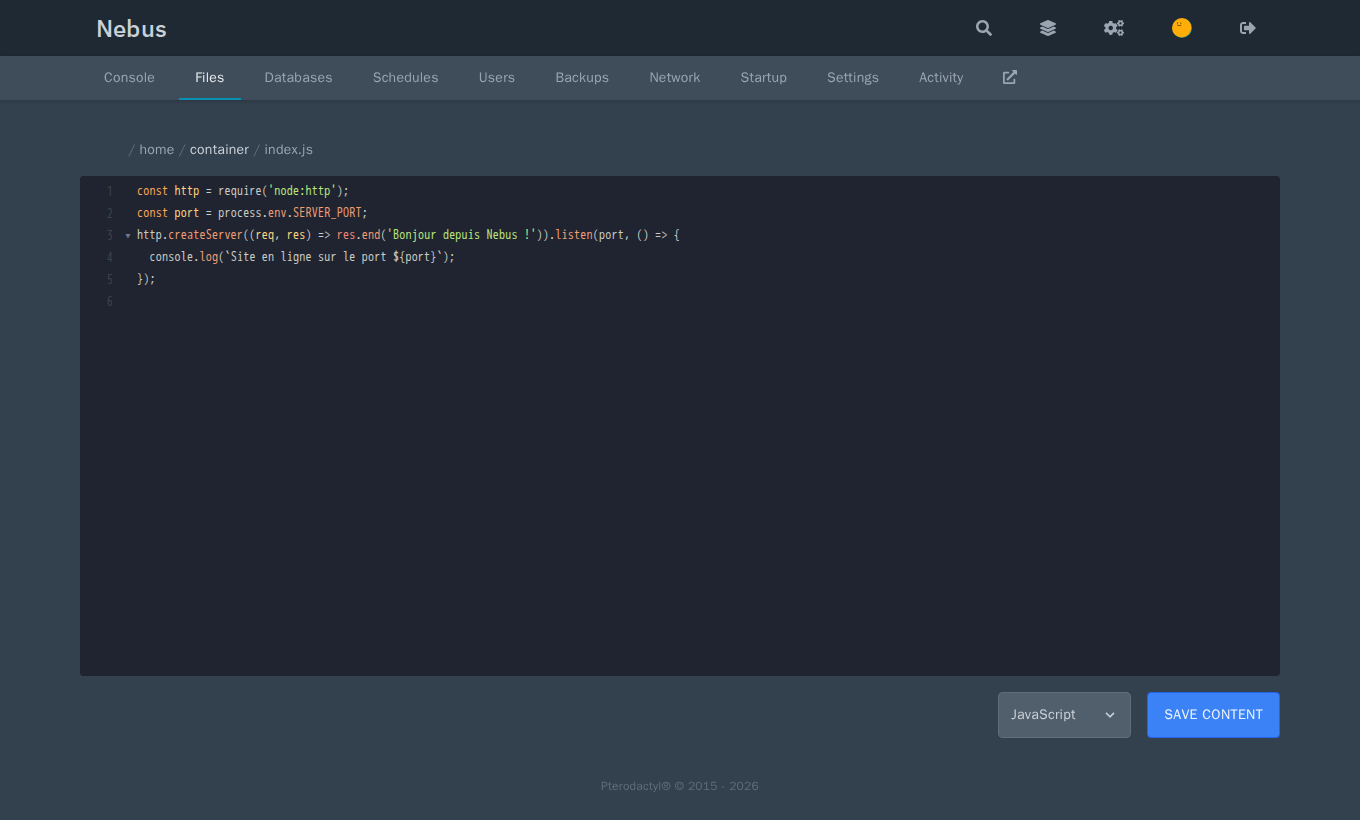
For large uploads, use SFTP: see Files and SFTP.
Databases
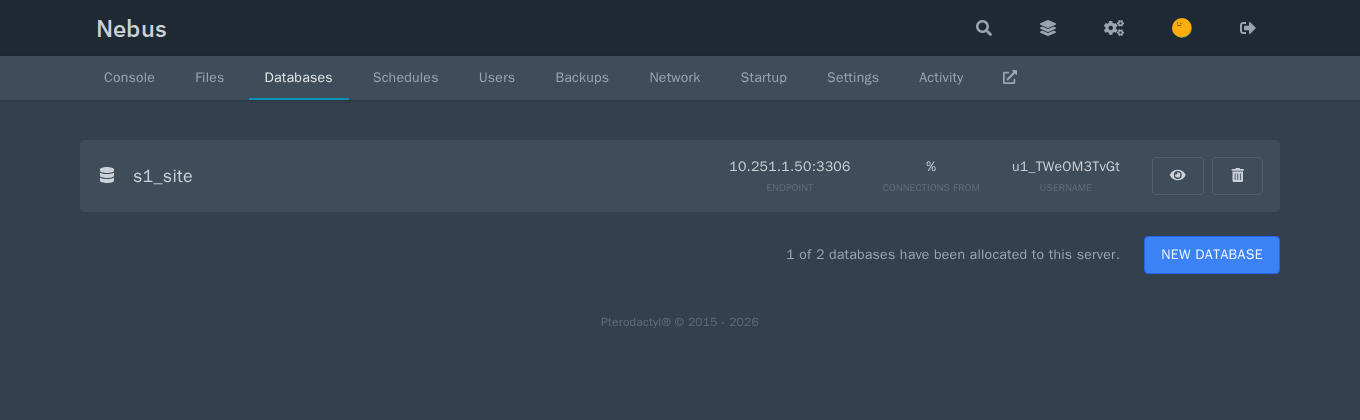
The number of databases allowed is set per server in the administration (Database Limit). Details and phpMyAdmin: Databases.
Schedules
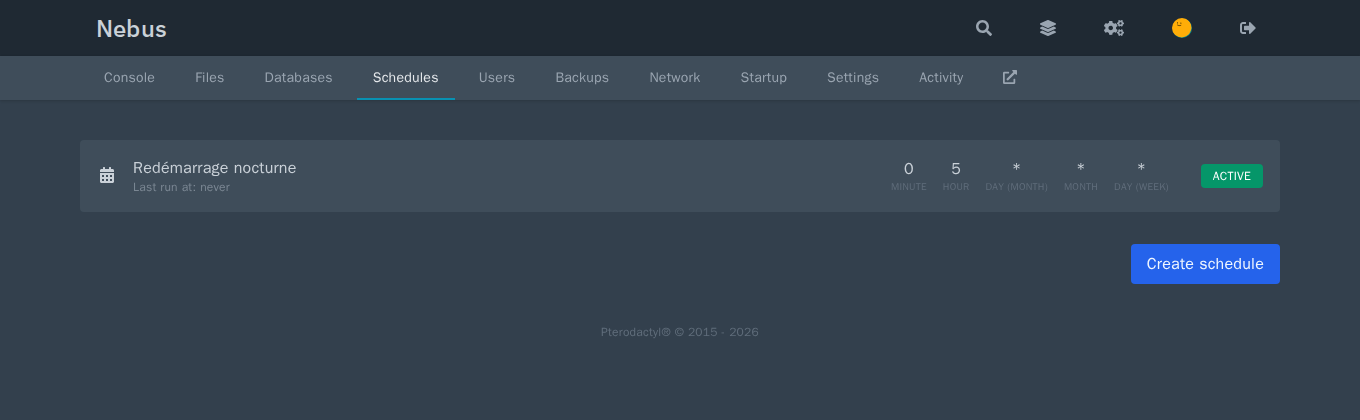
Create schedule, choose the frequency (minute, hour, day…), then add one or more tasks: send a command, a power action (restart…) or create a backup.
Server users
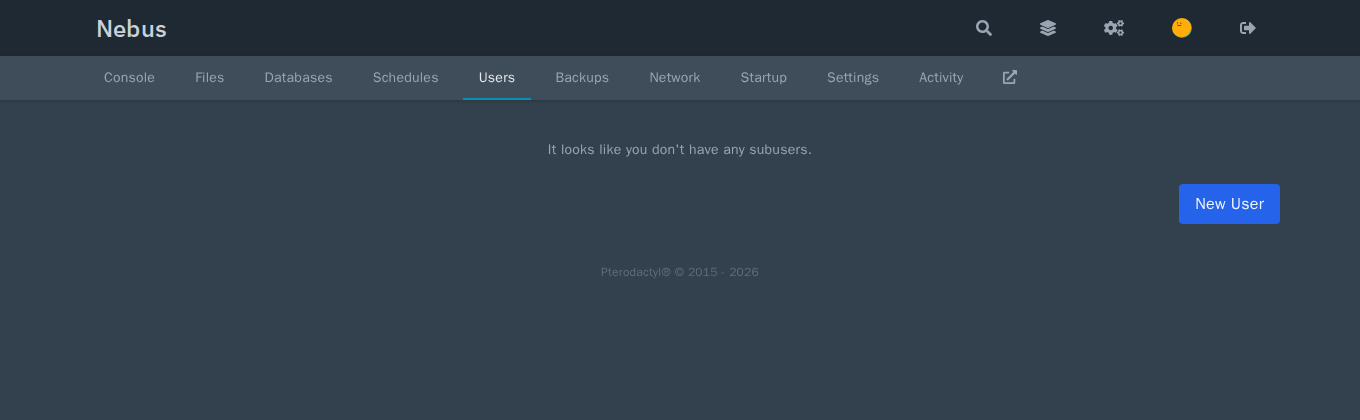
See Users and access.
Backups
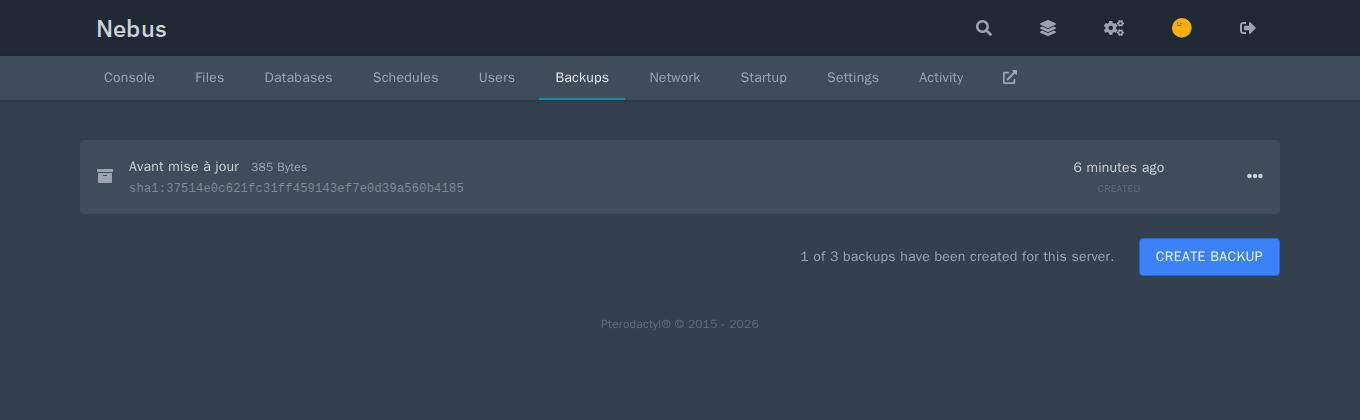
Backups are stored on your disk: see Backups.
Network
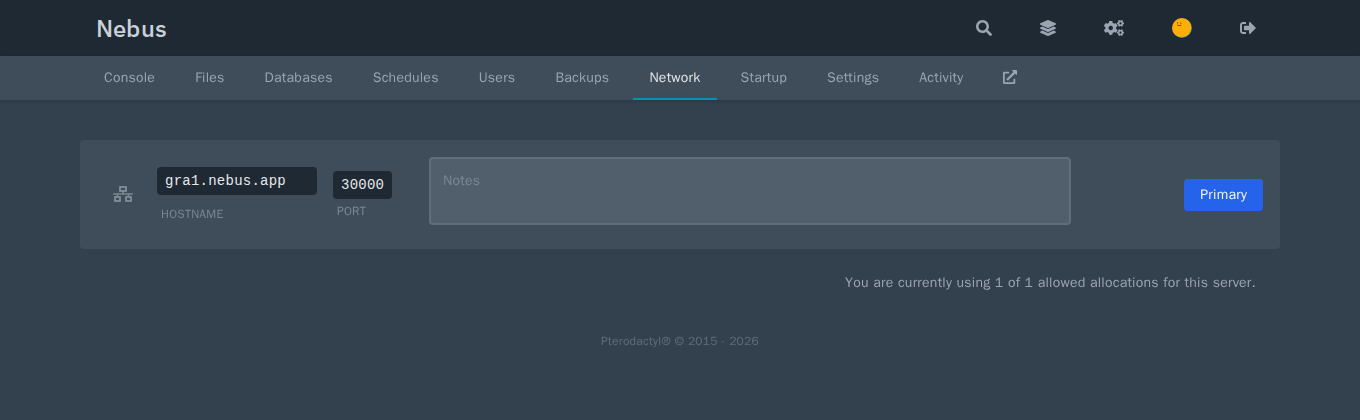
With the shared address, ports are chosen among the 100 reserved for you; with the dedicated IP option, you can add any. See Ports and connection.
Startup
Settings
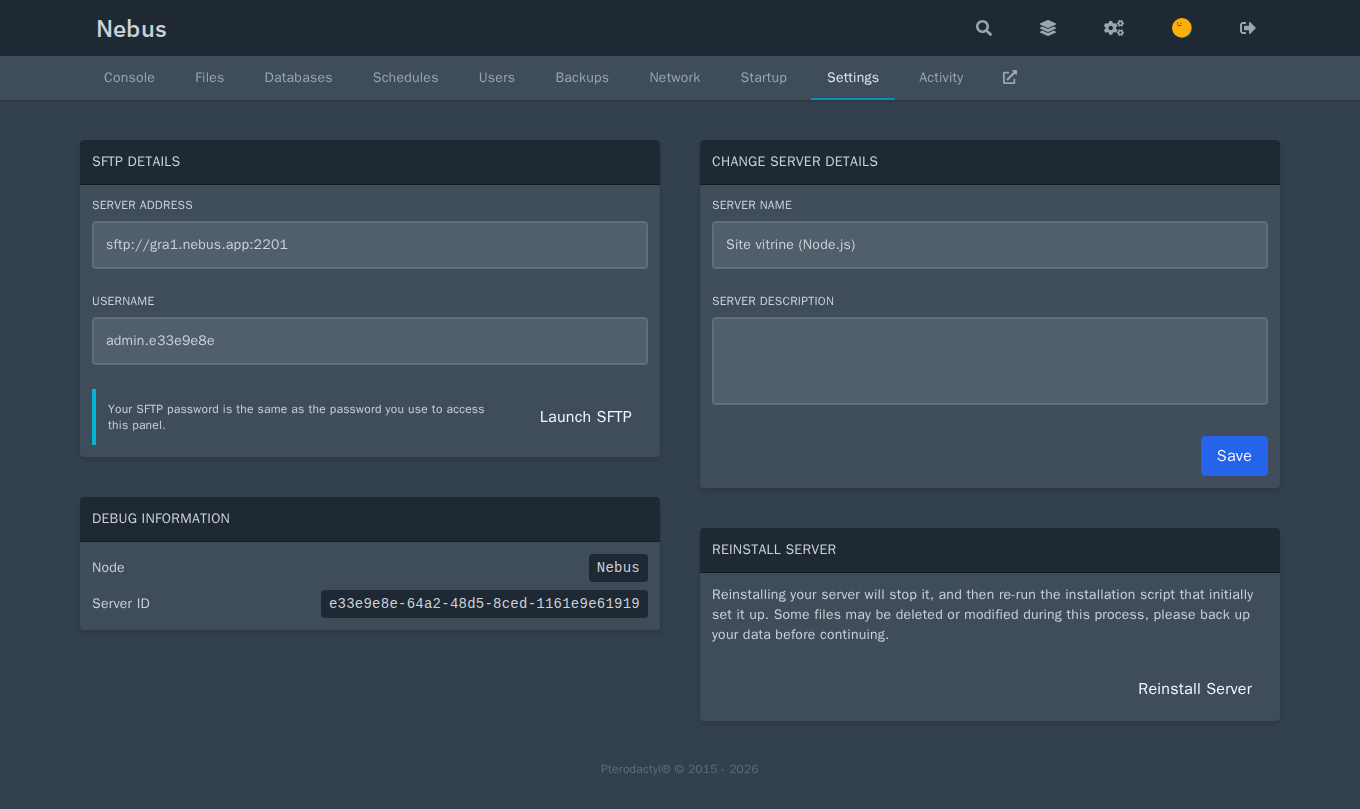
Reinstall Server runs the egg installation again: depending on the egg, files may be replaced. Make a backup first.
Your account
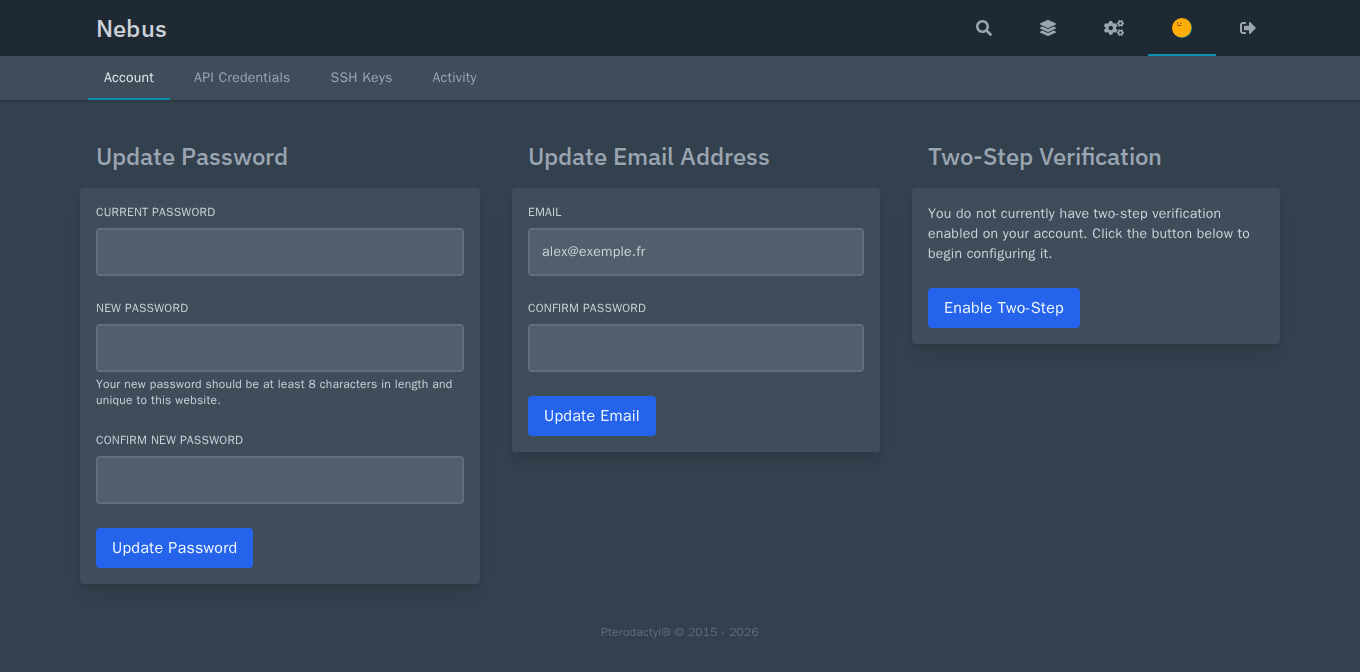
Turn on two-step verification (Enable Two-Step) as soon as you first log in.
The administration
The cogs at the top right open the Pterodactyl administration, for administrator accounts only.
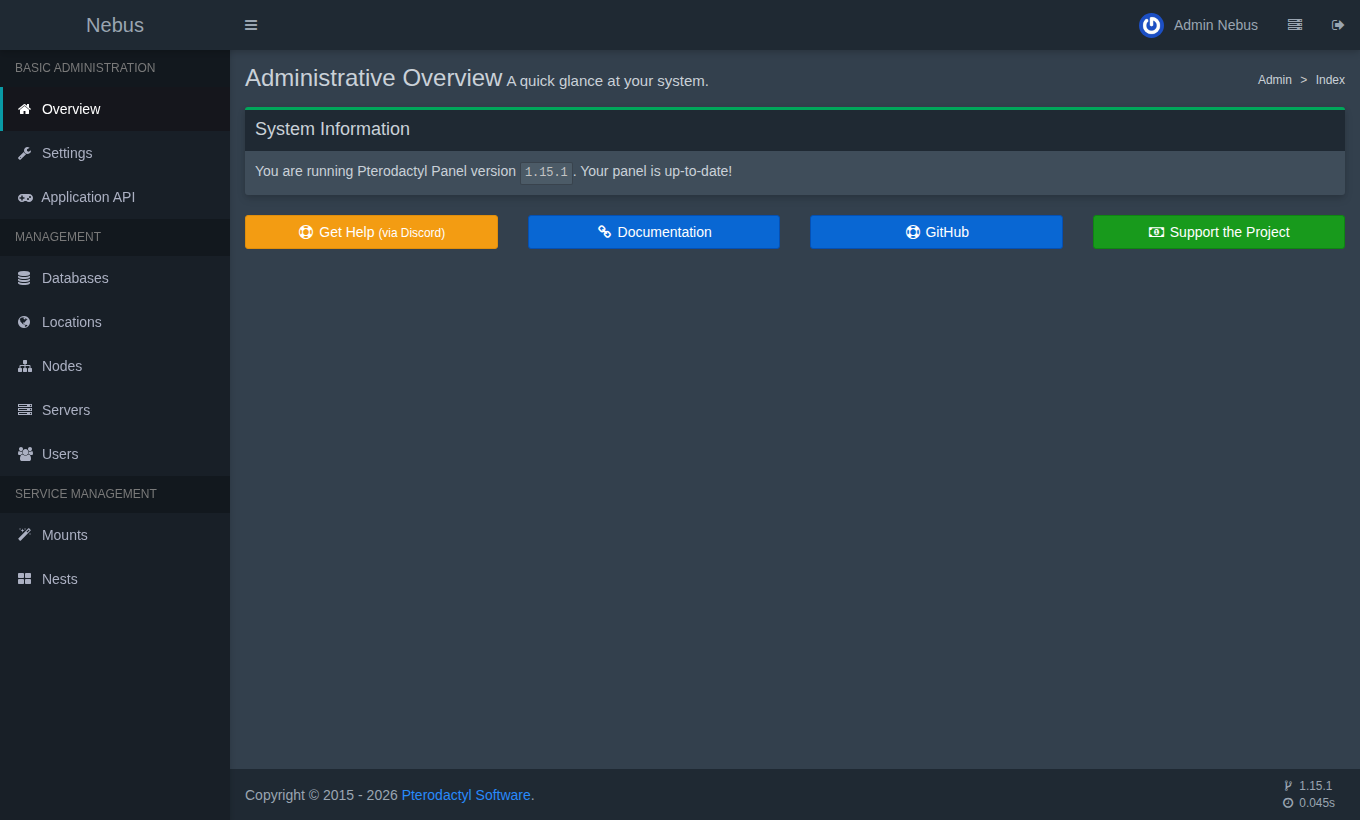
| Menu | Content | At Nebus |
|---|---|---|
| Settings | Panel name, security (mandatory two-step verification…) | E-mail sending is configured by Nebus (Mail tab hidden). |
| Application API | Keys to automate the panel | The “Nebus” key is hidden: it is used for installation. |
| Databases | Database servers | The “Nebus” server is provided and locked. |
| Locations, Nodes | Locations and nodes | A single node, managed by Nebus (see below). |
| Servers | Create and configure servers | Free. |
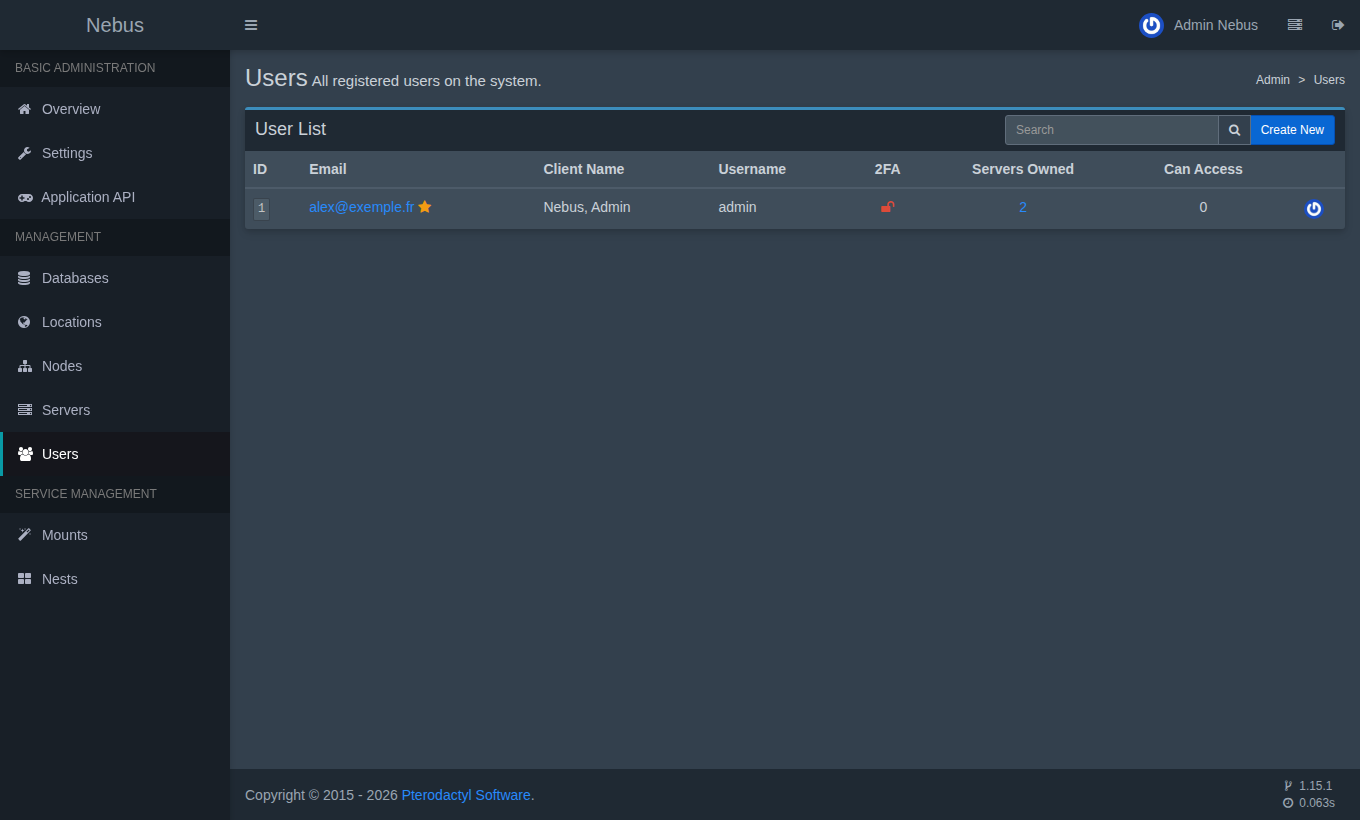
| Users | Panel accounts | Free. |
| Mounts, Nests | Shared folders, server templates (eggs) | Free. |
Creating a server
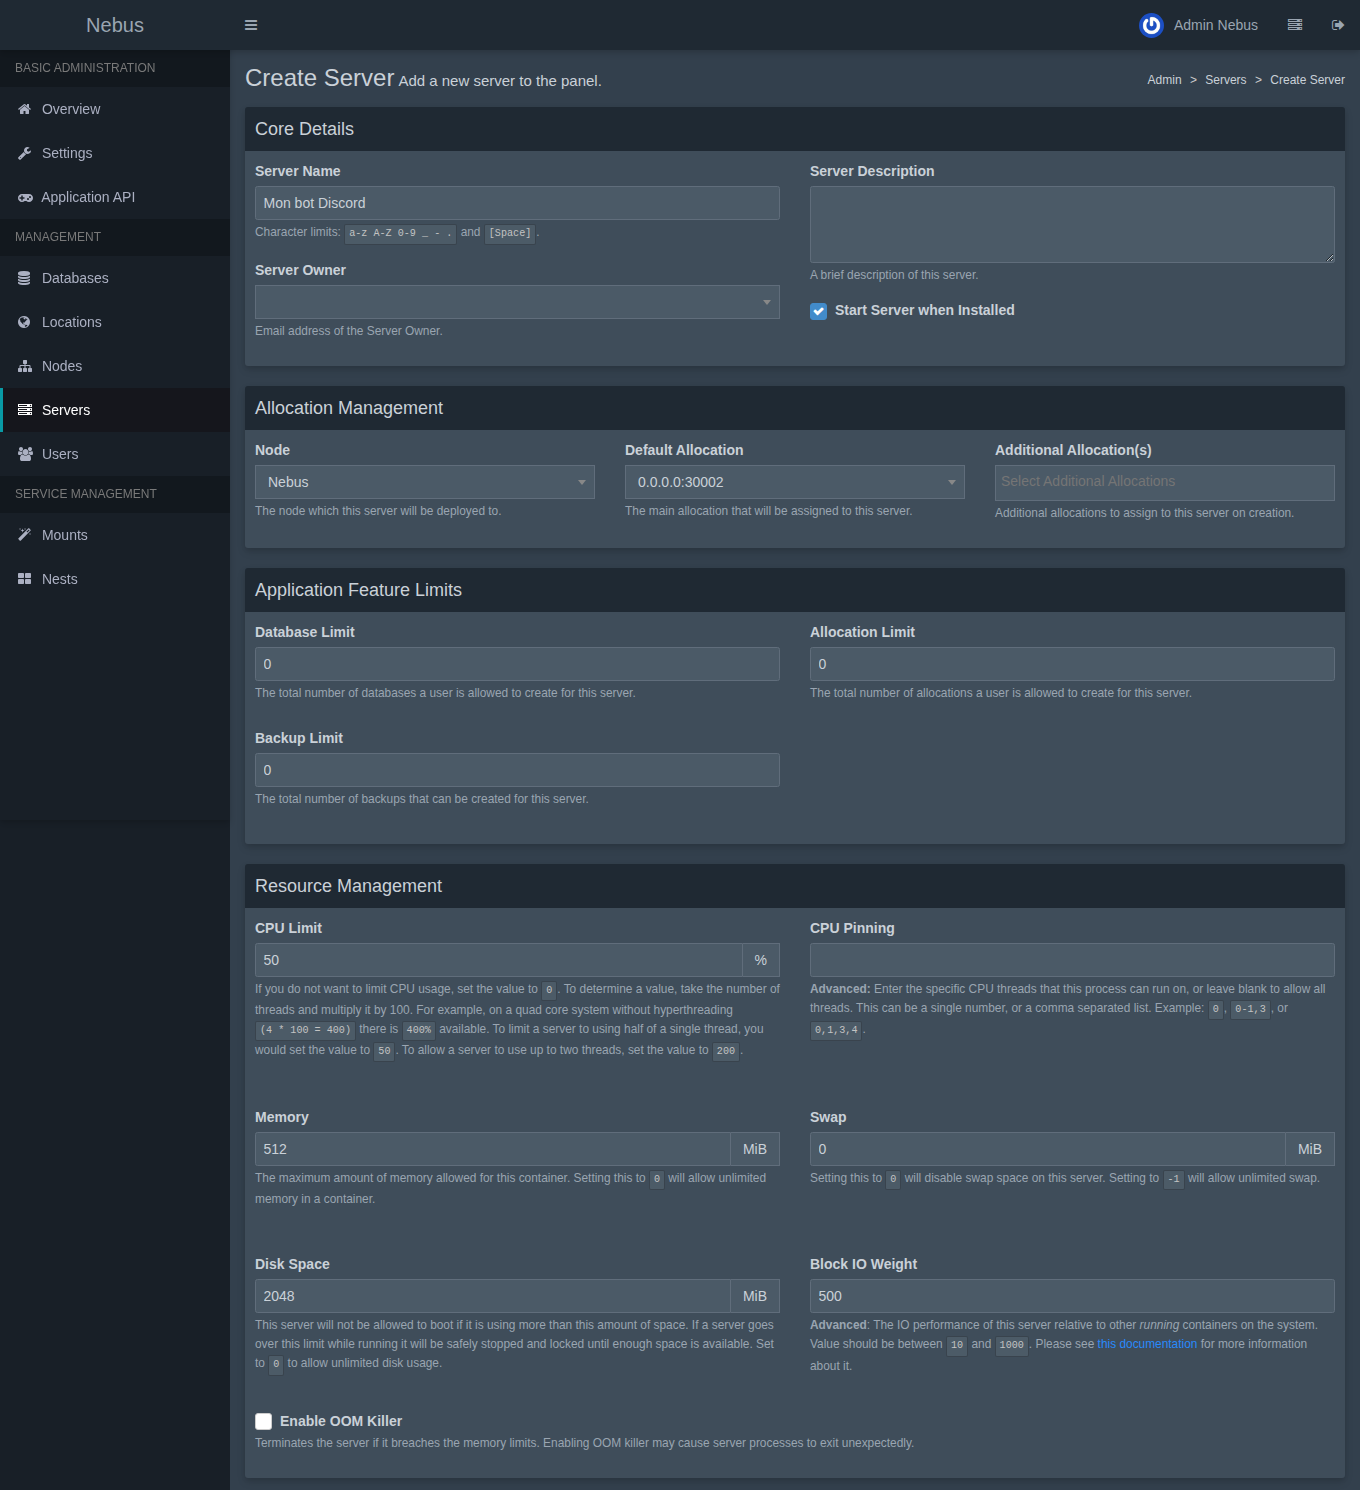
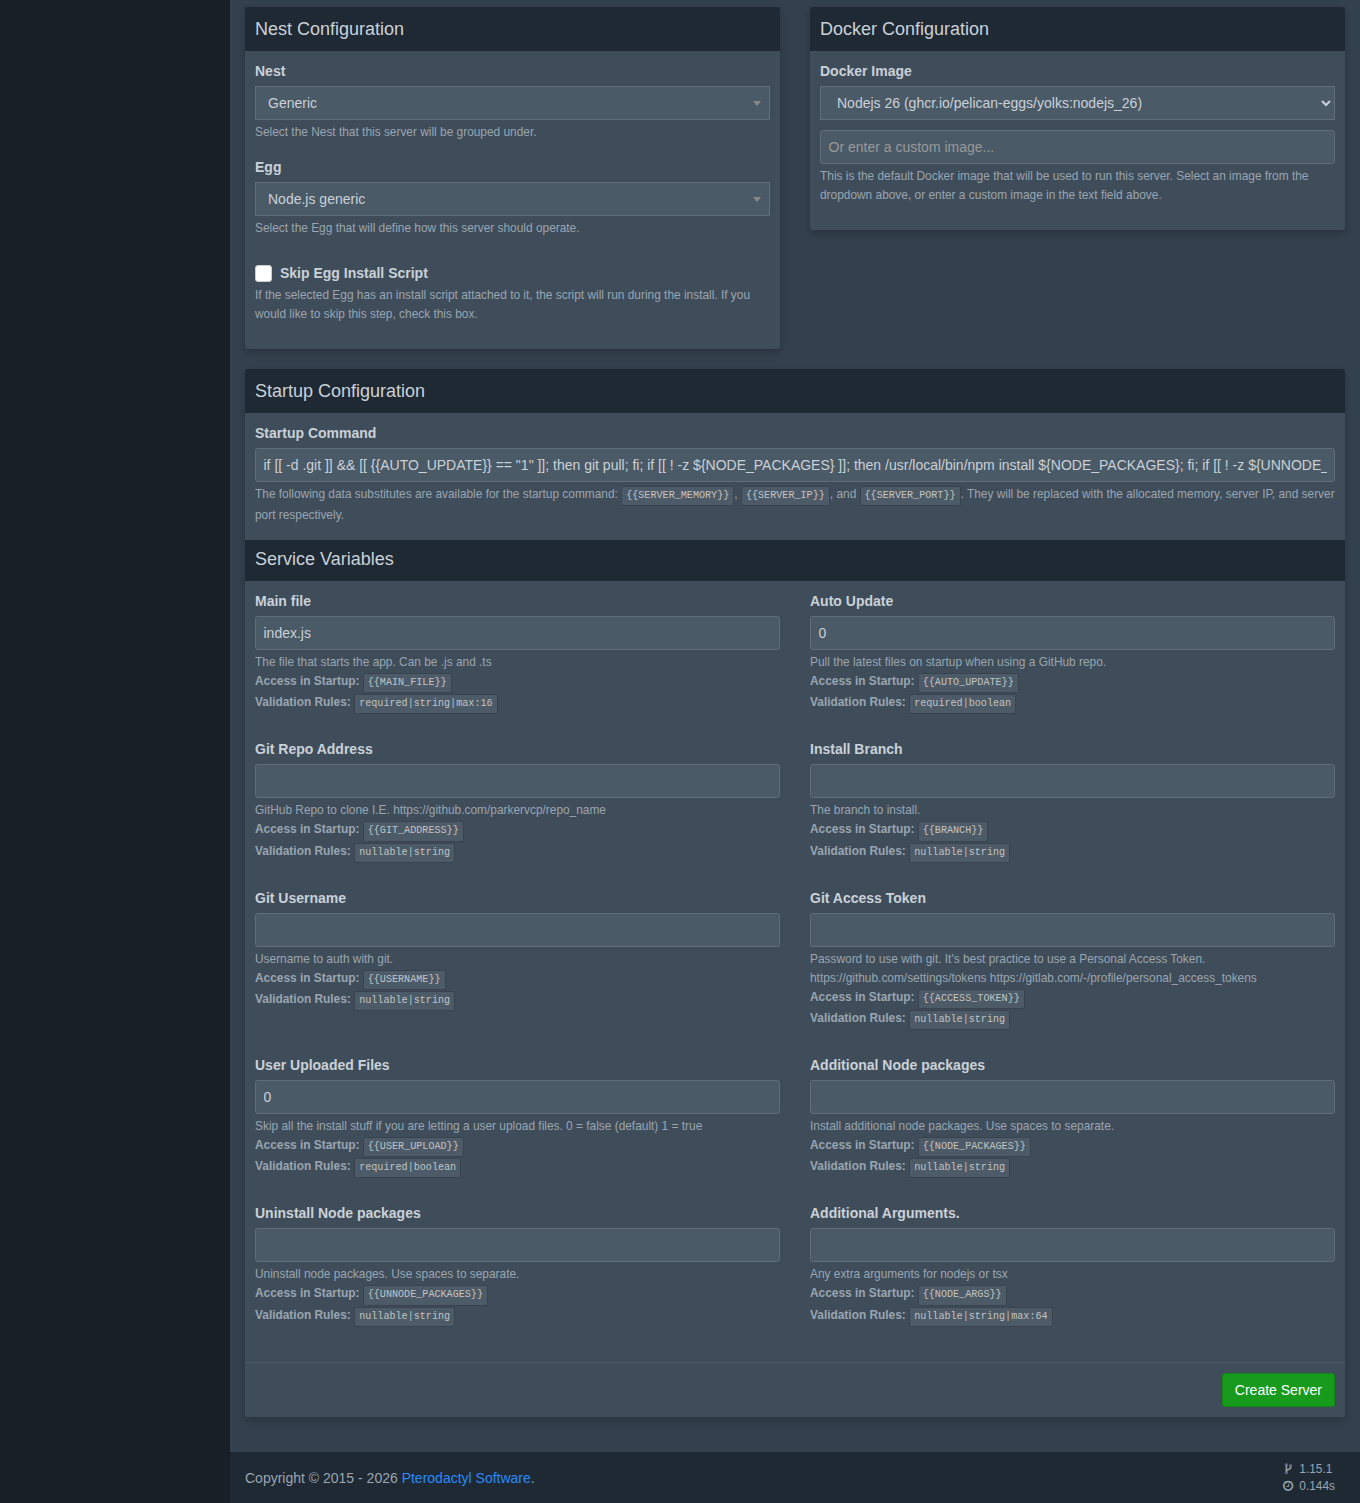
Every field is explained in Creating a server.
Nests and eggs
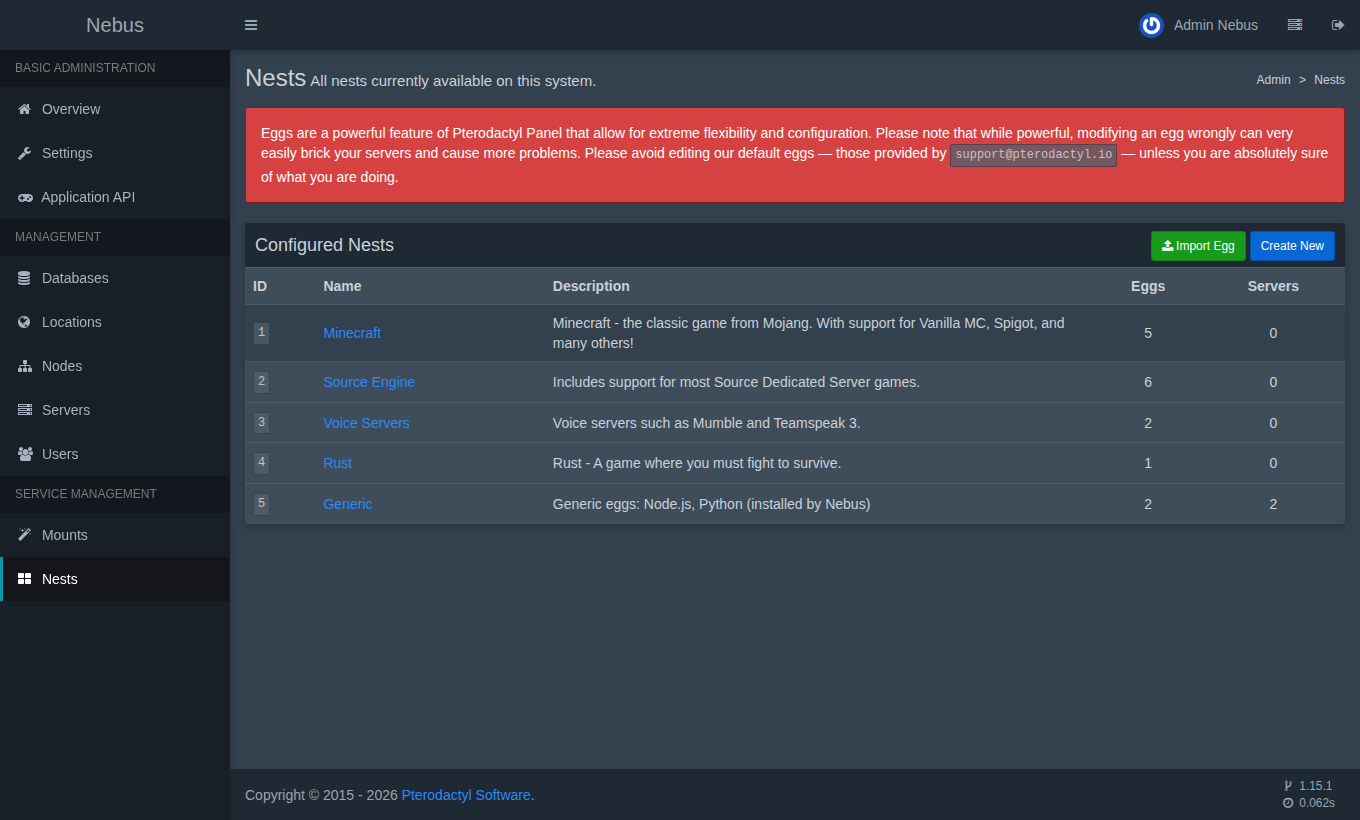
An egg is a server template (how to install and run it); a nest groups eggs. Your panel comes with:
- Minecraft: Paper, Vanilla, Forge, Sponge, BungeeCord (see Minecraft);
- Source Engine: Garry's Mod, Team Fortress 2, Counter-Strike, Insurgency, ARK…;
- Voice Servers: Mumble, TeamSpeak 3; Rust;
- Generic: Node.js generic and Python generic, for your bots and apps (see Node.js and Python bots and apps).
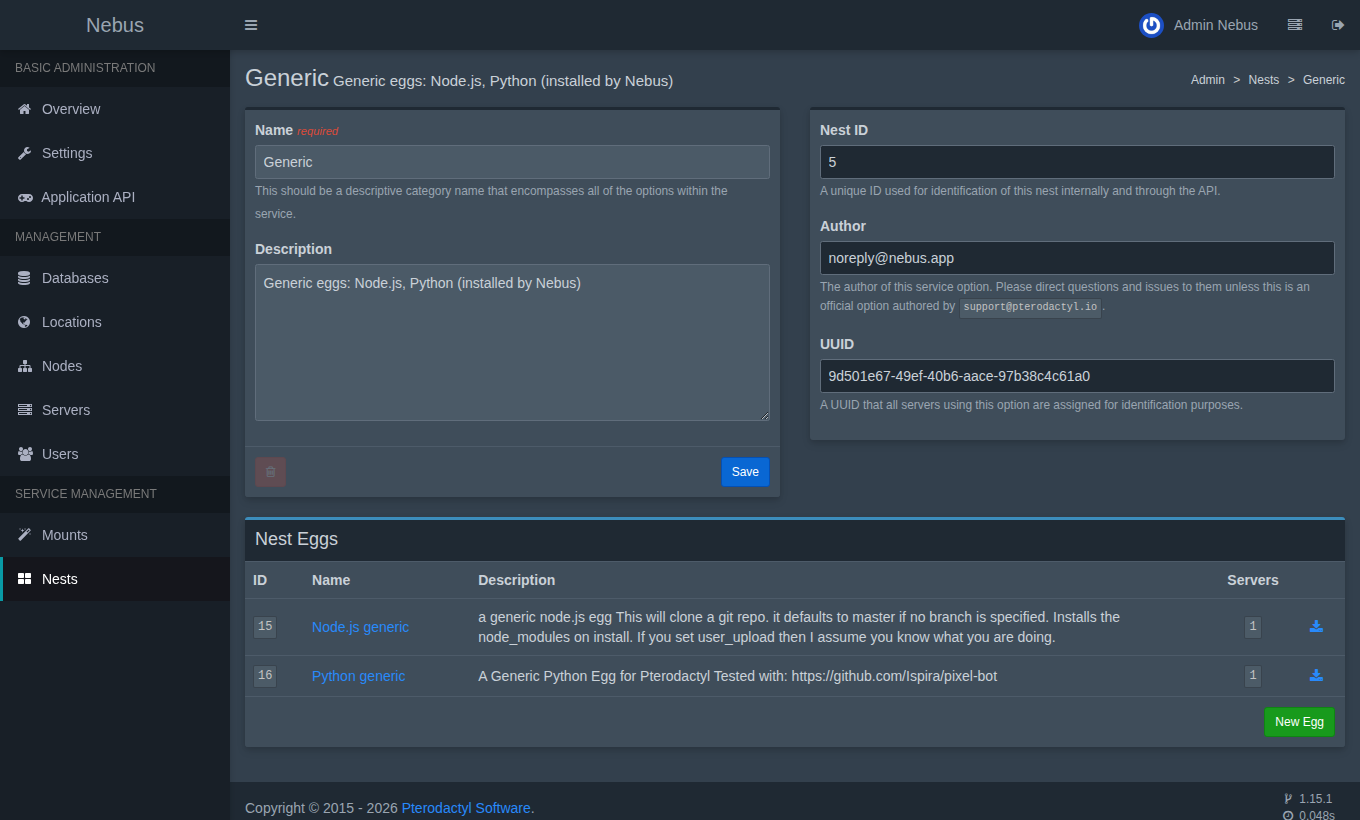
For another game, import its egg (JSON file) with Import Egg: the community maintains hundreds of them.
The Nebus node
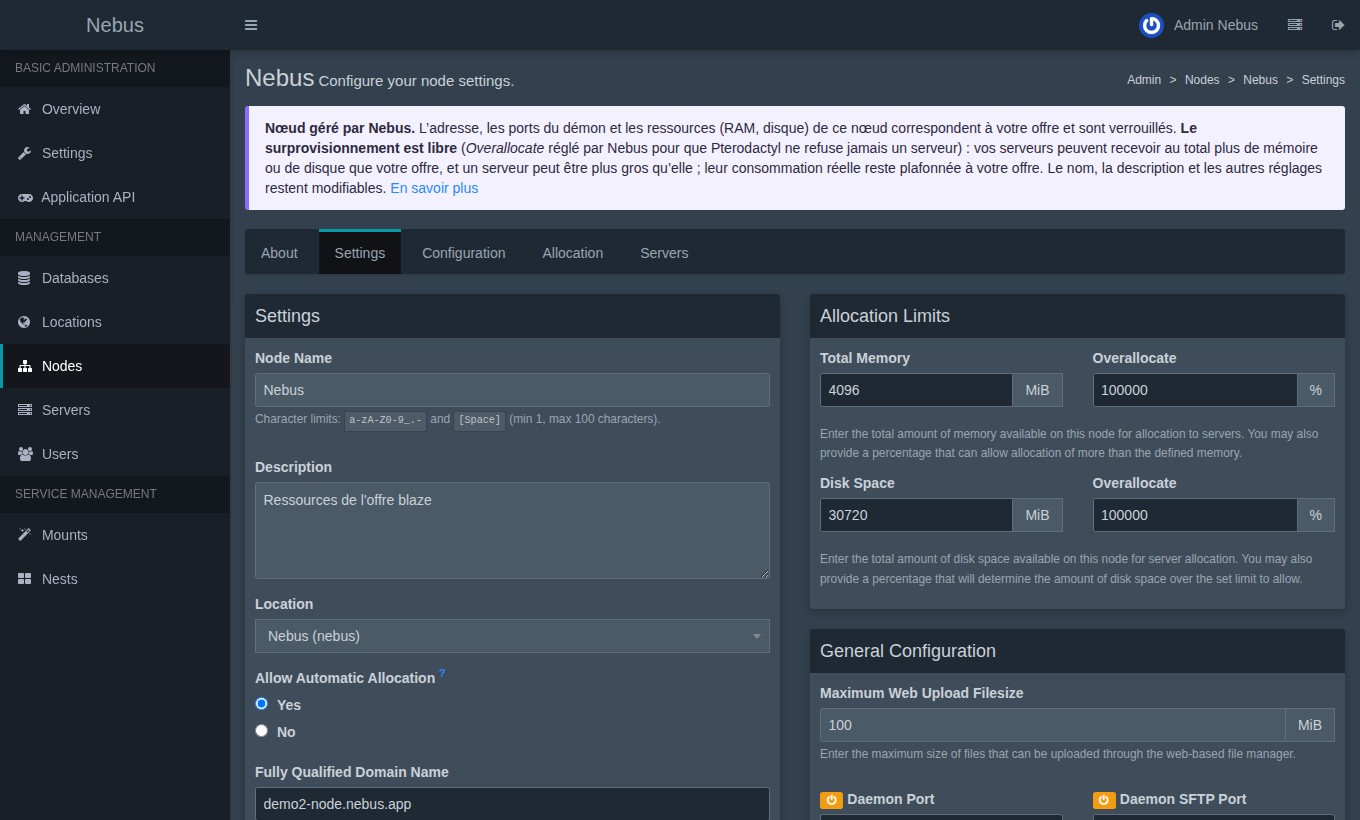
Its address, ports and resources (memory, disk) match your plan exactly: they are locked and automatically follow a plan change. You can change its name and description. See Resources and limits.
Over-allocation, on the other hand, is free (Overallocate set by Nebus to 100000%): your servers may get more than your plan in total, see Over-allocating in your panel.
Accounts
Next step: create your first server.